


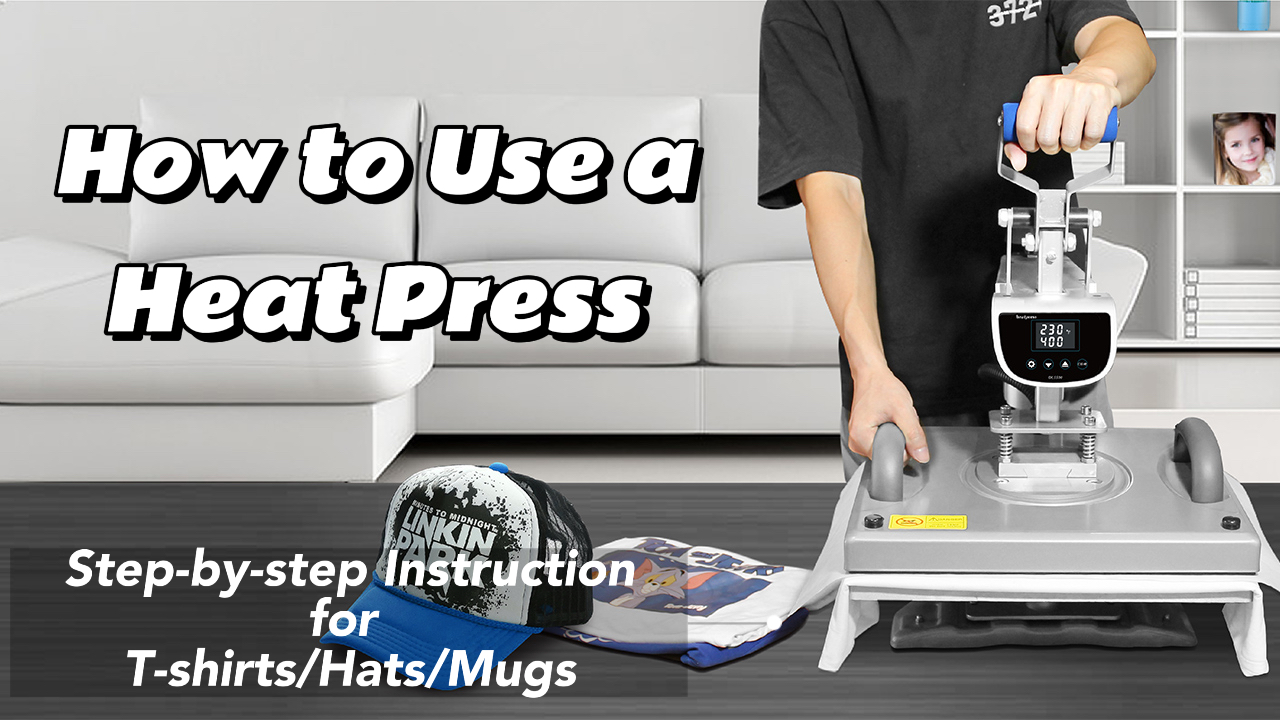
Introduction:
The 8 in 1 heat press machine is a versatile tool that can be used to transfer designs onto a variety of items, including t-shirts, hats, mugs, and more. This article will provide a step-by-step guide on how to use an 8 in 1 heat press machine to transfer designs onto these different surfaces.
Step 1: Set up the machine
The first step is to set up the machine correctly. This includes ensuring that the machine is plugged in and turned on, adjusting the pressure settings, and setting the temperature and time for the desired transfer.
Step 2: Prepare the design
Next, prepare the design that will be transferred onto the item. This can be done by using a computer and design software to create a graphic or by using pre-made designs.
Step 3: Print the design
After the design is created, it needs to be printed onto transfer paper using a printer that is compatible with transfer paper.
Step 4: Position the item
Once the design is printed onto the transfer paper, it is time to position the item that will receive the transfer. For example, if transferring onto a t-shirt, ensure that the shirt is centered on the platen and that the transfer paper is positioned correctly.
Step 5: Apply the transfer
When the item is positioned correctly, it is time to apply the transfer. Lower the top platen of the machine, apply the appropriate pressure, and start the transfer process. The time and temperature settings will vary depending on the item being transferred.
Step 6: Remove the transfer paper
After the transfer process is complete, carefully remove the transfer paper from the item. Be sure to follow the instructions for the transfer paper to ensure that the transfer is not damaged.
Step 7: Repeat for other items
If transferring onto multiple items, repeat the process for each item. Be sure to adjust the temperature and time settings as needed for each item.
Step 8: Clean the machine
After using the machine, it is important to clean it properly to ensure that it continues to function correctly. This includes wiping down the platen and other surfaces with a clean cloth and removing any leftover transfer paper or debris.
Conclusion:
Using an 8 in 1 heat press machine is a great way to transfer designs onto a variety of surfaces. By following the steps outlined above, anyone can use an 8 in 1 heat press machine to create custom designs on t-shirts, hats, mugs, and more. With practice and experimentation, the possibilities for custom designs are endless.
Keywords: 8 in 1 heat press, transfer designs, transfer paper, t-shirts, hats, mugs.
Post time: Jul-03-2023
 86-15060880319
  sales@xheatpress.com