


In this heat press machine tutorial, you will be learning how to use this twin station electric heat press Model # B2-2N Pro-Max. Heat press machine tutorial have 7 + 1 videos, welcome to subscribe our YouTube channel to keep in touch.
Video 1. Overall Introduction
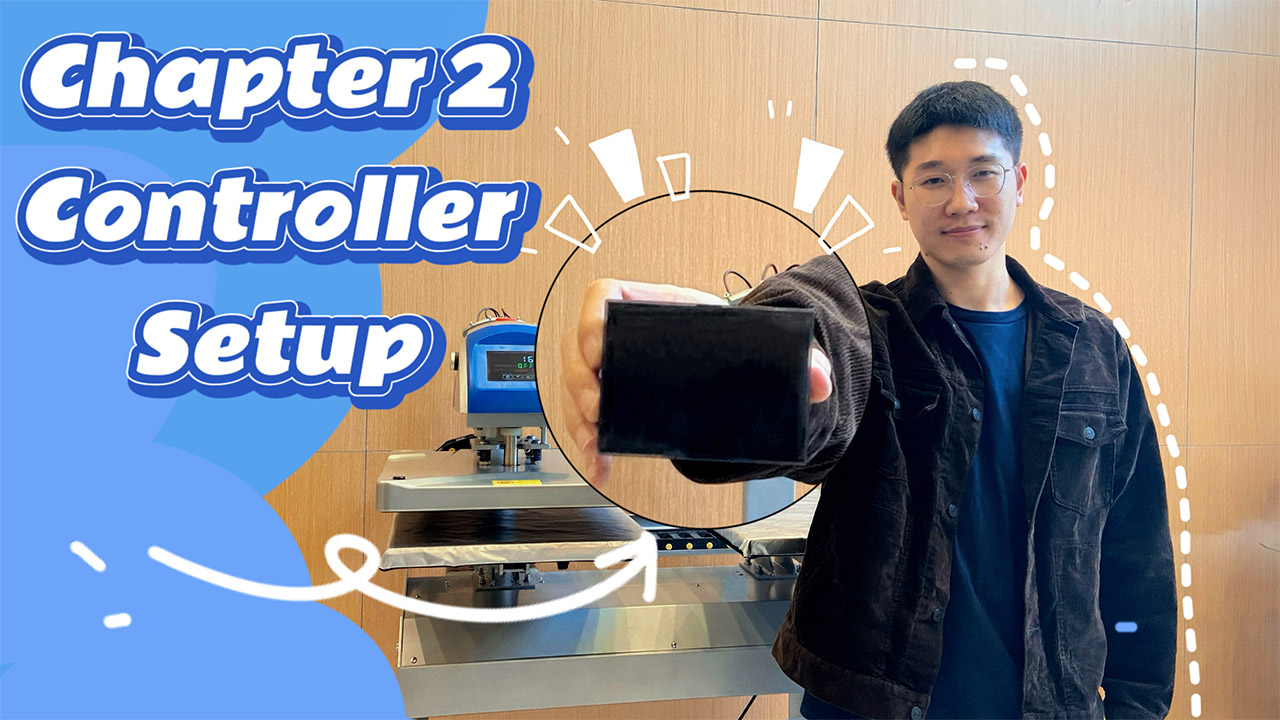
Video 2. Control Panel Setup
Video 3. Operation & Introduction
Video 4. Laser Alignment Setup
Video 5. Quick Lower Platens
Video 6. Garments Printing (Textiles Substrates)
Video 7. Ceramics Printing (Hard Substrates)
Video 8. Preview on Version 2023
In this video, you will be learning how to set control panel with desired temperature, time and pressure to meet with perfect heat transfer result.
Multi-timer Introduction (Pro-Max Plus Version)
P-1: Temperature
P-2: Timer (Here to set single, double or triple timer.)
P-3: C/F Readout
P-4: Motor Pressure
P-5: Auto-off
P-6: Multi-timer (here to set multi-timer disabled, single circle or twin circle)
Remark:
Multi-timer supports Max. 3 timer (timer 1 - pre-press, timer 2 - heat press, timer 3- reinforced press), user chooses either single timer, double timer or triple timer depends on heat transfer requirement.
Also, user could choose multi-timer circle depend on single platen work or twin platen work.
Set P-6 in 0, multi-timer disabled.
Set P-6 in 1, multi-timer in single circle.
Set P-6 in 2, multi-timer in twin circle.
Today I will introduce our functions of the controller by this video. Hope you guys can follow up with me. Okay, but before all of the operations. I want to introduce this one to you guys, do you know what's this? Okay, actually this box is the the name is liquid crystal display, the short name is LCD controller. With this controller, we have different kind of a function inside it, including the temperature setting, timing setting and also for others. Okay, this accessory is qualified with the UL certificate. It is very good quality and as you can see here all of the design is made by wire cable, it is very convenient for customers to disassemble or assemble it. And very easy for our technicians to do the after sales service, it looks very nice.
So after knowing about this part, I will show you the functions about how to set different values for this machine. Okay, let's come to the controller, you'll find here have different kind of icons. The PV means the present value, SV means the setting value like what we need it to be. And you will find bellow of the controller, is the setting button, decrease, increase and clear.
First I need to press this setting button, we can enter into the procedure 1. Here you can set the different value of the temperature like the maximum is 232 Celsius degree equals 450 Fahrenheit degree. Okay, like right now, I can press the increase or decrease to to change the value of this machine, like I set it to 50 Celsius degree, and now it is done.
Then I press the set again into procedure 2, here we can set the different timing the maximum of this part it will be 999 seconds. Okay, so like same operations I set it to 15 seconds.
Okay press this again you will find here, this shows C it means the units of the temperature, because you know some of the customers from the United States or other or similar countries which use the Fahrenheit regularly. But another part is use the Celsius degrade regularly. So we can change the unit of the temperature by here, like this press the set again.
We can enter into procedure 4, this is the most important part of this machine, we can adjust the pressure by this part, the maximum will be 32 and the maximum can be adjusted if the customer think the pressure is not enough, we can enter into the procedure to make the pressure bigger, this is the way. This is one of the way, we have another way I will introduce you later always. With different value of procedure 4, we can have different pressure to this machine. Because you know the pressure can directly influence the printable thickness, the maximum thickness of this machine can be 5 centimeter. Okay, I think it is very wide for customers especially for the T-shirt maker. So you can also make more thicker products else which is less than 3.5 centimeter.
I think okay, press this again we can enter into procedure 5, this means the stand-by mode like if I don't operate this machine. We supposed needs to be five minutes, the units of this minutes, okay so we set it to be 5 minutes like. If I don't operate this machine we within 5 minutes. So after that, this machine will automatically enter into the sleep mode, so that it can save more energy for our customers and it is very environment friendly. Anyway it is very convenient for our customers if they cannot keep inside with this machine. And if you want to active this machine if you enter into the sleep mode, you just only need to press any button.
Okay, and press the set again we can enter into this part procedure 6. Procedure six, this is also another very important advantage of our controller, because you can see here, we can set the values from 0 to 1 and to 2. This only three choices ,with these three choices, you can have different kind of the function including the preheating and heat transferring and also the reinforce press. This is three timer we called. Okay, in the in the next video, I will show you how to operate this machine. Hope this video can well explained to the functions of our controllers. Hope you can follow our ways and subscribe our channel, and to see the next operations of this machine.
00:00 - Greeting
00:20 - Control Panel
01:20 - Control Panel Setting
06: 35 - Preview Next Chapter
Here is the product link, take it home now!
Make Friends
Facebook: https://www.facebook.com/xheatpress/
Email: sales@xheatpress.com
WeChat/WhatsApp: 86-15060880319
#heatpress #heatpressmachine #heatpressprinting #tshirtprinting #tshirtbusiness #tshirtdesign #sublimationprinting #sublimation #garmentprinting #heattransfermachine
Post time: Nov-30-2022
 86-15060880319
  sales@xheatpress.com