


Small but Mighty: The Ultimate Guide to Cricut Heat Press Mini for Personalized DIY Projects
If you're into DIY projects, you probably already know that a heat press can be a game-changer. It's an essential tool for creating custom t-shirts, bags, hats, and other items that require precise temperature and pressure. But what if you don't have the space or budget for a full-sized heat press? That's where the Cricut Heat Press Mini comes in.
Despite its small size, the Cricut Heat Press Mini is a powerful tool that can handle a wide range of materials, including iron-on, vinyl, cardstock, and even thin wood veneers. Plus, it's easy to use, portable, and affordable. In this ultimate guide, we'll show you how to get the most out of your Cricut Heat Press Mini and create personalized DIY projects like a pro.
Step 1: Choose Your Materials
Before you start using your Cricut Heat Press Mini, you'll need to choose the right materials for your project. Make sure to select materials that are compatible with heat transfer, such as iron-on vinyl, heat transfer vinyl, or sublimation paper.
Step 2: Design Your Project
Once you've selected your materials, it's time to design your project. You can create your design using Cricut Design Space, a free software that allows you to create and customize designs on your computer or mobile device. You can also import your own designs or choose from a variety of pre-made designs.
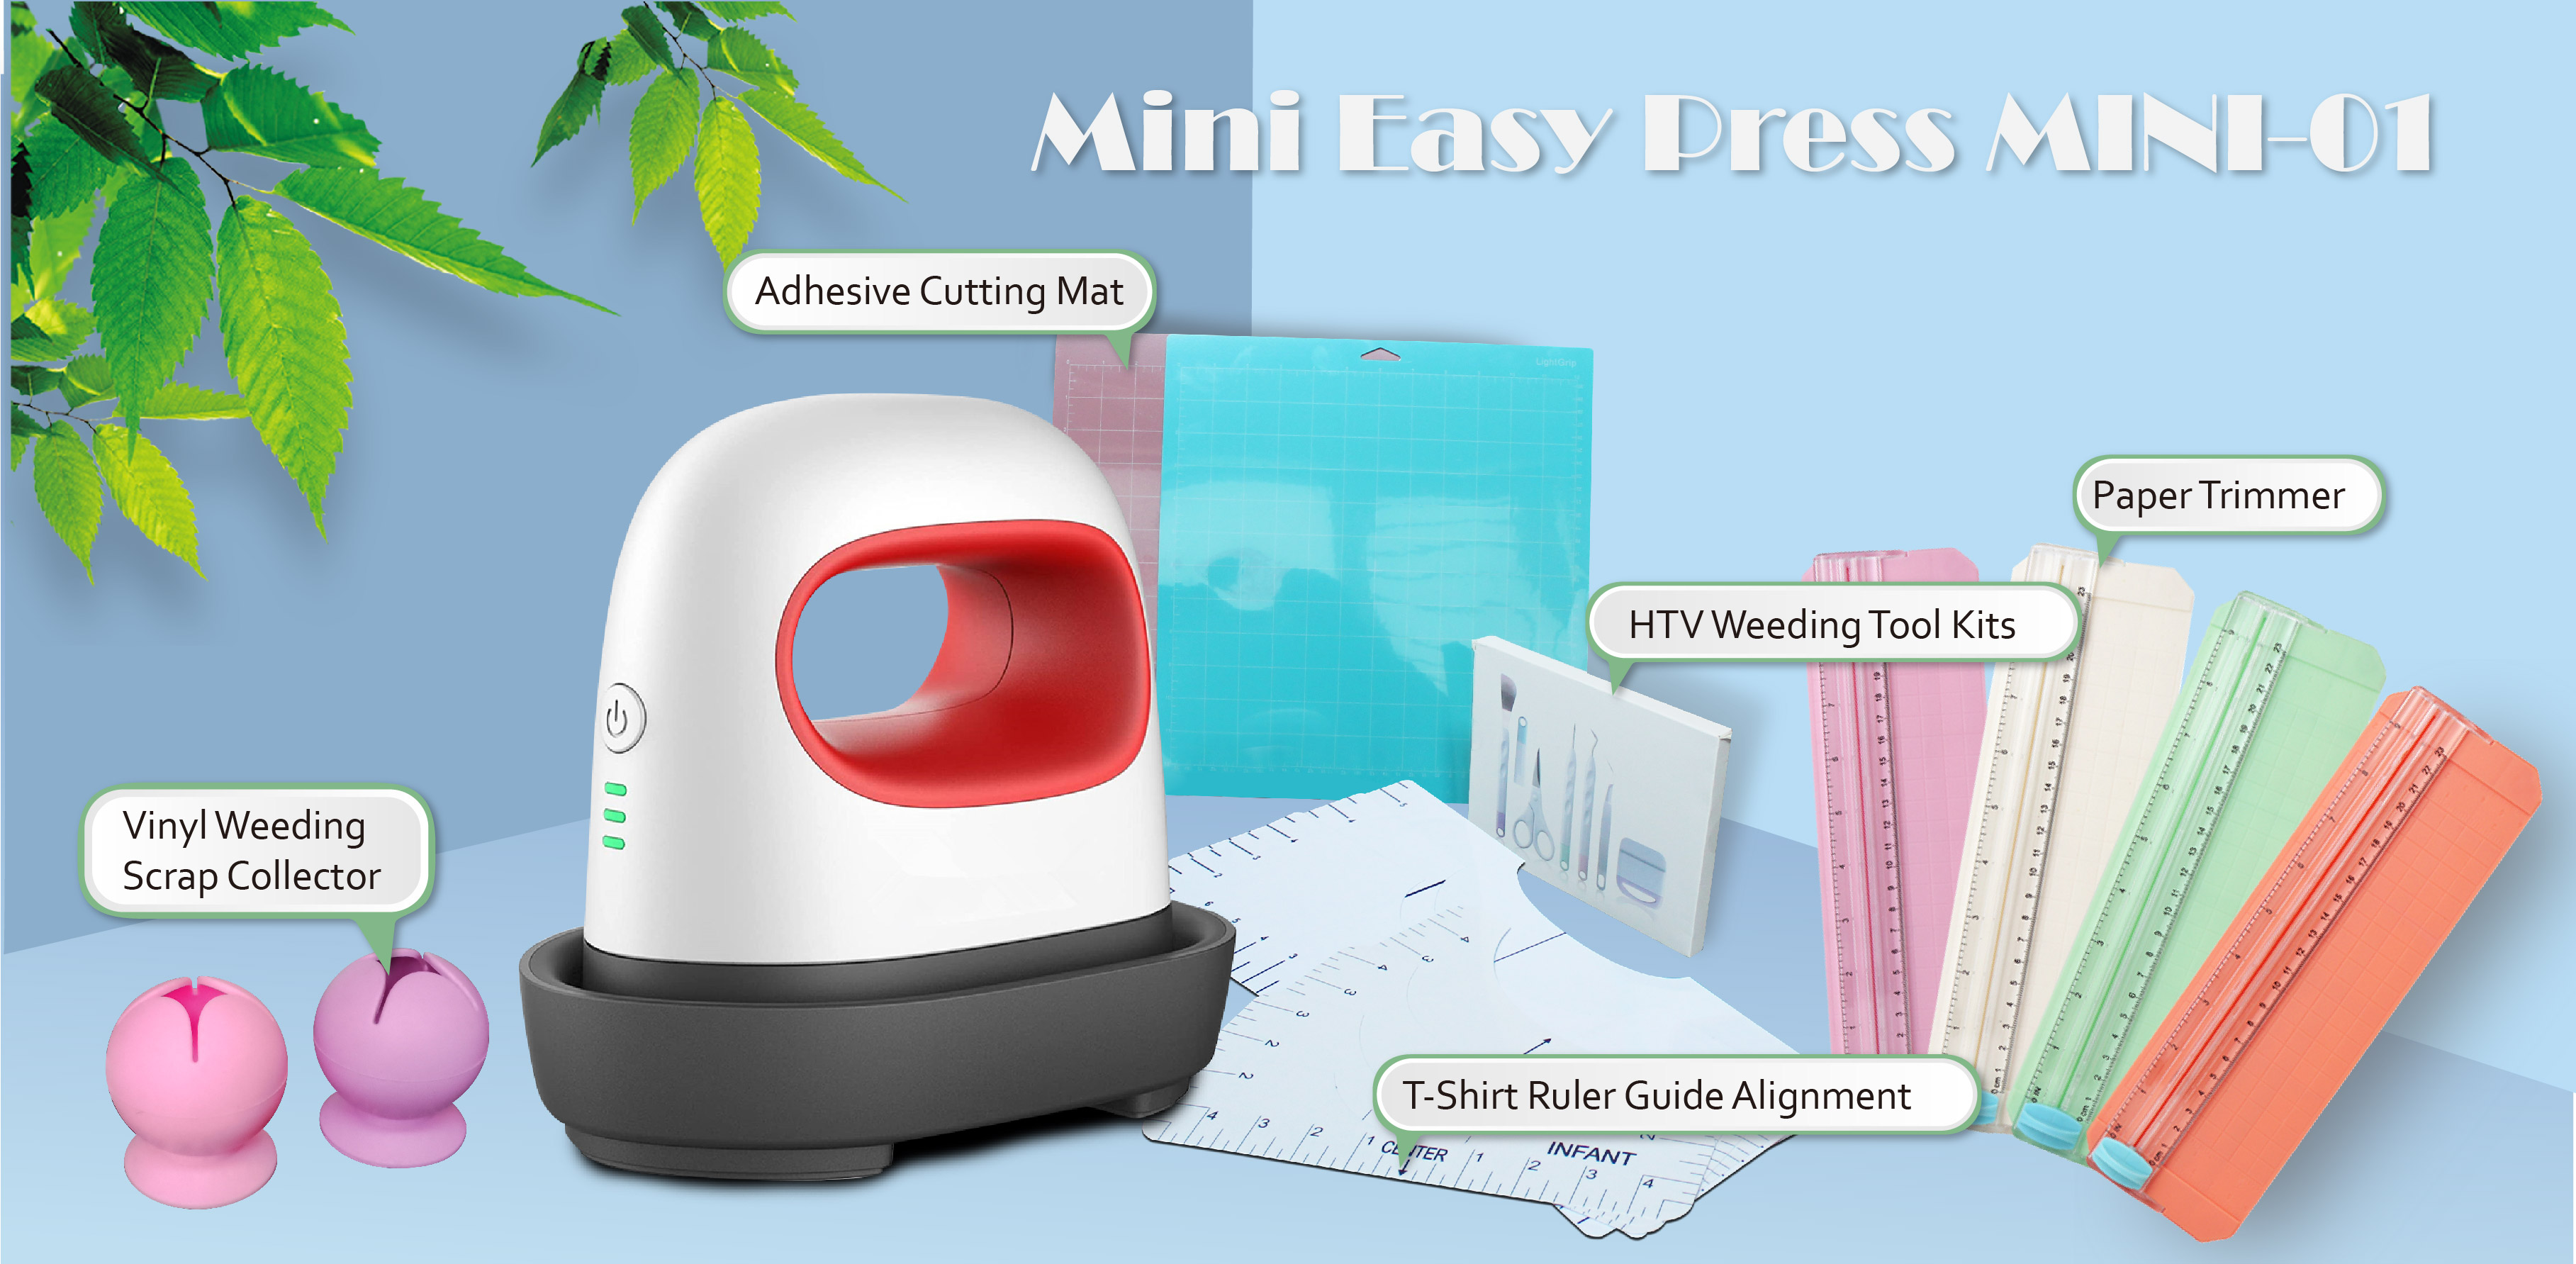
Step 3: Cut and Weed Your Design
After you've designed your project, it's time to cut and weed your design. This involves cutting your design using a Cricut cutting machine and removing the excess material using a weeding tool.
Step 4: Preheat Your Heat Press Mini
Before you start pressing your design onto your material, you'll need to preheat your Cricut Heat Press Mini. This ensures that your press is at the right temperature and ready to use.
Step 5: Press Your Design
Once your press is preheated, it's time to press your design onto your material. Place your material on the base of the press and position your design on top. Then, close the press and apply pressure for the recommended time and temperature.
Step 6: Peel and Enjoy!
After you've pressed your design, it's time to peel off the carrier sheet and admire your work. You can now enjoy your personalized DIY project or gift it to someone special.
Conclusion
The Cricut Heat Press Mini is a small but mighty tool that can help you create personalized DIY projects with ease. By following these simple steps, you can create custom t-shirts, bags, hats, and more using a variety of materials. So why wait? Start crafting today with your Cricut Heat Press Mini!
Keywords: Cricut Heat Press Mini, DIY projects, personalized gifts, heat transfer, iron-on vinyl, heat transfer vinyl, sublimation paper.
Post time: Mar-20-2023
 86-15060880319
  sales@xheatpress.com