


Introduction:
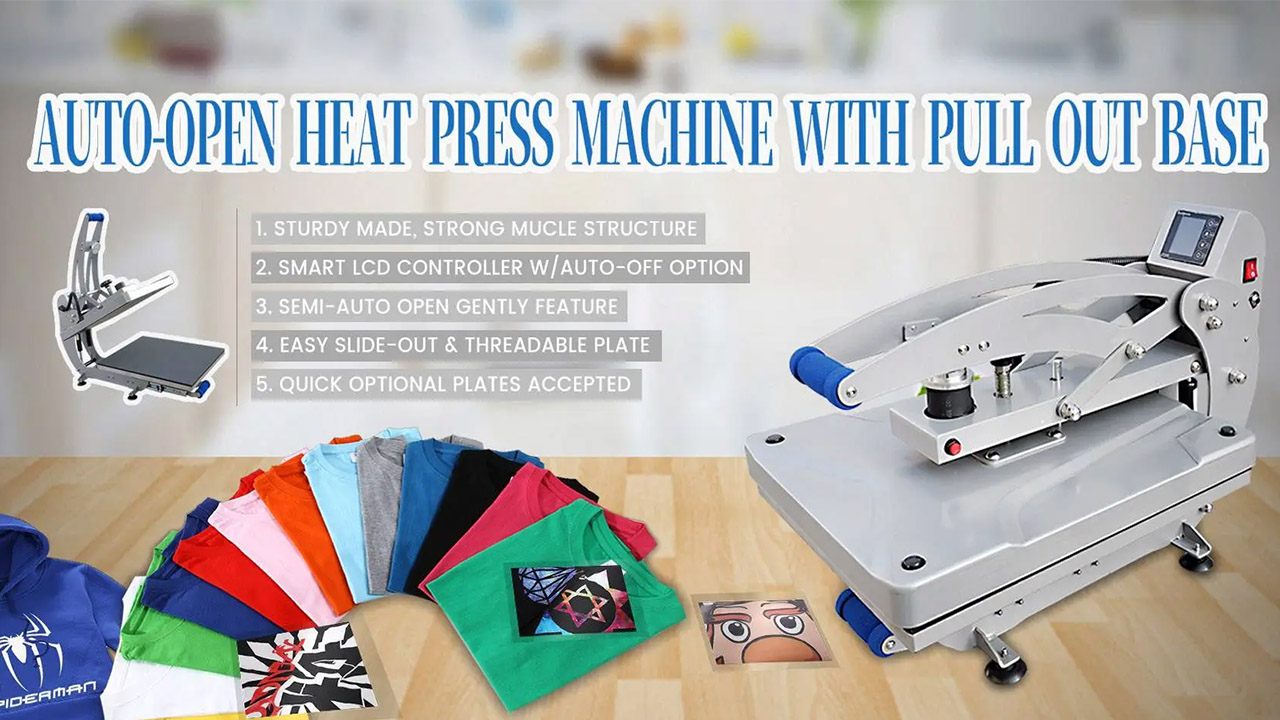
The 16x20 semi-auto heat press machine is a game-changer when it comes to creating professional-quality prints. Whether you're a seasoned printmaker or just starting out, this versatile machine offers convenience, precision, and excellent results. In this comprehensive guide, we will walk you through the steps of using the 16x20 semi-auto heat press machine, empowering you to unleash your creativity and achieve stunning prints with ease.
Step 1: Set up the machine
Before starting, ensure that the 16x20 semi-auto heat press machine is properly set up. Place it on a sturdy and heat-resistant surface. Plug in the machine and power it on, allowing it to heat up to the desired temperature.
Step 2: Prepare your design and substrate
Create or obtain the design you wish to transfer onto your substrate. Ensure that the design is appropriately sized to fit within the 16x20-inch heat platen. Prepare your substrate, whether it's a t-shirt, tote bag, or any other suitable material, by ensuring it is clean and free from wrinkles or obstructions.
Step 3: Position your substrate
Lay your substrate onto the bottom heat platen of the machine, ensuring it is flat and centered. Smooth out any wrinkles or folds to ensure even heat distribution during the transfer process.
Step 4: Apply your design
Place your design on top of the substrate, ensuring it is correctly aligned. If necessary, secure it in place using heat-resistant tape. Double-check that your design is positioned exactly where you want it.
Step 5: Activate the heat press
Lower the upper heat platen of the machine, activating the heat transfer process. The semi-auto feature of the machine allows for easy operation and consistent pressure. Once the predetermined transfer time has elapsed, the machine will automatically release the heat platen, indicating that the transfer process is complete.
Step 6: Remove the substrate and design
Carefully lift the heat platen and remove the substrate with the transferred design. Take caution, as the substrate and design may be hot. Allow them to cool down before handling or further processing.
Step 7: Evaluate and admire your print
Inspect your transferred design for any imperfections or areas that may require touch-ups. Admire the professional-quality print you have created using the 16x20 semi-auto heat press machine.
Step 8: Clean and maintain the machine
After using the machine, ensure that it is properly cleaned and maintained. Wipe the heat platen with a soft cloth to remove any residue or debris. Regularly inspect and replace any worn-out parts to keep the machine in optimal working condition.
Conclusion:
With the 16x20 semi-auto heat press machine, creating professional-quality prints has never been easier. By following the steps outlined in this comprehensive guide, you can effortlessly transfer designs onto various substrates, achieving impressive results every time. Unlock your creative potential and enjoy the convenience and precision offered by the 16x20 semi-auto heat press machine.
Keywords: 16x20 semi-auto heat press machine, professional-quality prints, heat platen, heat transfer process, substrate, design transfer.
Post time: Jul-10-2023
 86-15060880319
  sales@xheatpress.com